Data Curation Exercise#
DMSC Summer School#
Today is the last day of the DMSC Summer School. You should have created new simulated data, reduced them and analyzed them.
In each one of those steps, you have saved one or multiple files and took notes about the work that you have performed.
Now it is time to curate your data and make them FAIR.
In this notebook, we ask you to perform the following tasks:
Decide which data files you would like to upload in SciCat and make them available to your class mates
Organize them in datasets
For each datasets that you have decided to create, create a set of metadata that you think is relevant to find the dataset and decide if it is relevant for your needs
Create the datasets locally, add metadata and data files
Upload the datasets to SciCat
Save the pids of the datasets created
Validate the new datasets through SciCat Frontend or a Jupyter Notebook leveraging Scitacean
You can work on the tasks alone, although we suggest to work on them in a group of two/three people. Working in a group helps with deciding in defining your datasets and brainstorming which metadata are important to make your data FAIR.
If you have any questions about python, Scitacean and SciCat, do not hesitate to ask.
This notebook has been prepopulated with the necessary code to connect to SciCat and instantiate the Scitacean client.
We highlighted the cells where you need to fill in the blanks in order to perform the tasks listed above.
They are titled Section n.
We assumed that only one dataset will be created. If you need to create more than one, please duplicate cells as needed.
Good Luck#
Load standard libraries
import uuid
URL of the scicat instance containing the data
scicat_instance = "https://staging.scicat.ess.eu/api/v3"
Valid Authentication token
(Also called access token or SciCat token)
Follow the steps listed below to obtain the token,
visit (ESS SciCat staging environment)[https://staging.scicat.ess.eu]
log in using the credentials provided
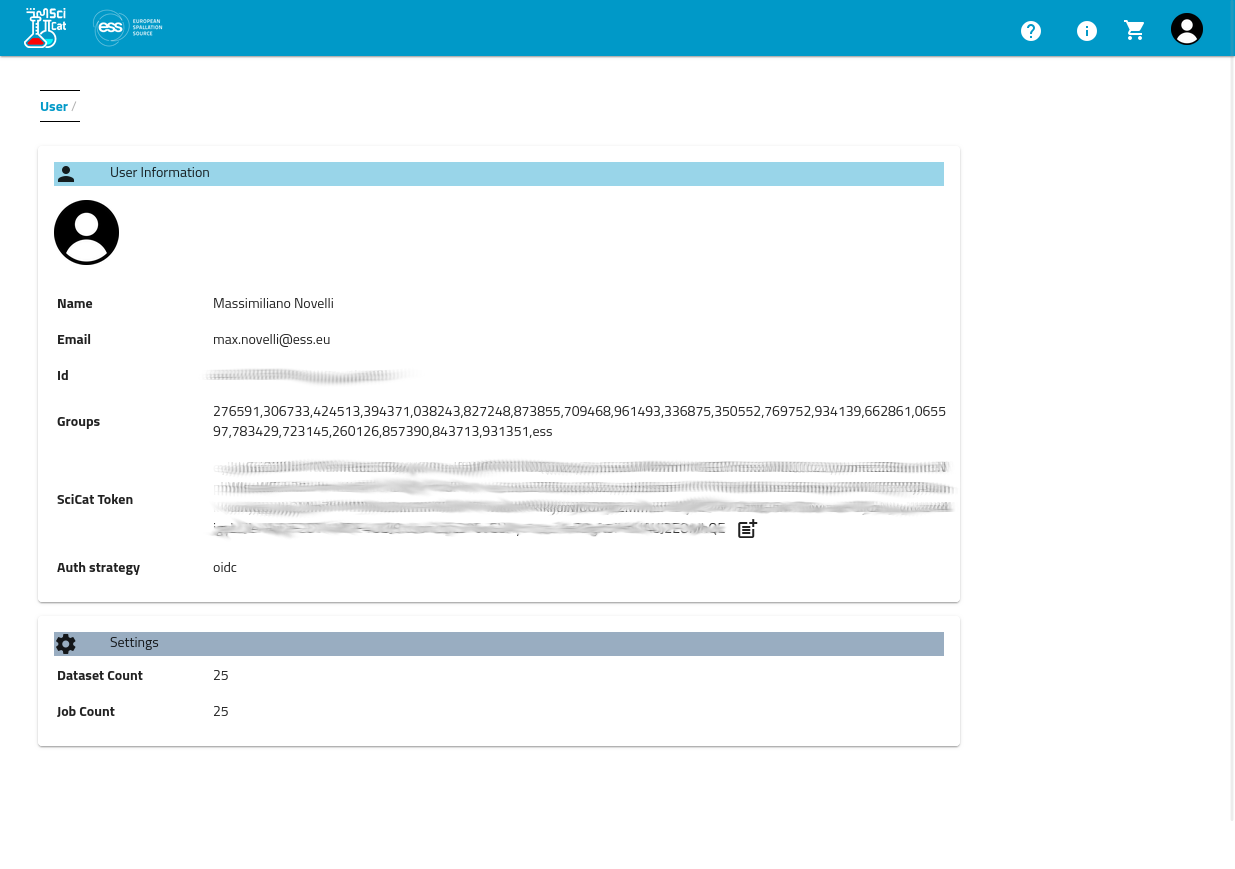
go to User->settings page,
and click on the copy to clipboard icon added at the end of the SciCat Token .
Access token example:
eyJhbGciOiJIUzI1NiIsInR5cCI6IkpXVCJ9.eyJfaWQiOiI2MzliMmE1MWI0MTU0OWY1M2RmOWVjMzYiLCJyZWFsbSI6ImxvY2FsaG9zdCIsInVzZXJuYW1lIjoiaW5nZXN0b3IiLCJlbWFpbCI6InNjaWNhdGluZ2VzdG9yQHlvdXIuc2l0ZSIsImVtYWlsVmVyaWZpZWQiOnRydWUsImF1dGhTdHJhdGVneSI6ImxvY2FsIiwiaWQiOiI2MzliMmE1MWI0MTU0OWY1M2RmOWVjMzYiLCJpYXQiOjE2OTIwODc0ODUsImV4cCI6MTY5MjA5MTA4NX0.Phca4UF7WKY367-10Whgwd5jaFjiPku6WsgiPeDh_-o
IMPORTANT: make sure to replace <YOUR_SCICAT_TOKEN> with the current token retrieved from SciCat
token = "<YOUR_SCICAT_TOKEN>"
Import Scitacean. For more information please check the official repository and documentation
from scitacean import Client, Dataset
from scitacean.transfer.sftp import SFTPFileTransfer
User name and access key used to access files. The ssh key file is provided at the beginning of the session. Note that the key filename only works on the School’s JupyterHub.
sftp_username = "dss2024"
sftp_key_filename = "/home/jovyan/.ssh/id_summerschool2024"
Function to perform some magic and establish connection to the data repository
def connect(host, port):
    from paramiko import SSHClient, AutoAddPolicy

    client = SSHClient()
    client.load_system_host_keys()
    client.set_missing_host_key_policy(AutoAddPolicy())
    client.connect(
        hostname=host,
        username=sftp_username,
        key_filename=sftp_key_filename,
        timeout=1)
    return client.open_sftp()
Instantiate scitacean client
client = Client.from_token(
    url=scicat_instance,
    token=token,
    file_transfer=SFTPFileTransfer(
        host="sftpserver2.esss.dk",
        connect=connect,
    ))
We need a unique name for the folder where to upload the data to.
We use UUID to achieve that.
run_uuid = str(uuid.uuid4())
Section 1.#
Create a local Scitacean dataset of type raw.
We already included the main template, please populate all the needed fields.
Here is a list of some of the available dataset fields:
name
description
type
contact_email
principal_investigator
owner
owner_email
data_format
is_published
keywords
Some of this fields are required.
Please check Scitacean documentation for more information
dataset = Dataset(
    creation_location='/ESS/DMSC/Summer_School',
    owner_group='dss2024',
    access_groups=['ess','dram','swap'],
    instrument_id=None,
    techniques=[],
    keywords=[
        'DMSC Summer School',
        '2025',
        'DMSC Summer School 2025',
    ],
    license='unknown',
    proposal_id=None,
    source_folder=f'/ess/data/dmsc_summer_school/2024/upload/{run_uuid}',
    source_folder_host='SpectrumScale.esss.dk',
    <ADD_MISSING_FIELDS>
)
Section 2.#
Add your scientific metadata to the new dataset.
Remember the dataset scientific metadata is a dictionary where the key is the name of the metadata and the value is a nested dictionary containing the value and the unit.
If unit is not used, leave it empty.
"your-metadata-key" : {
    "value" : "your-metadata-value",
    "unit" : "metadata-SI-unit",
}
dataset._meta = {
    <INSERT_YOUR_METADATA>
}
Section 3#
add the files that you want to link to this dataset.
You need to repeat this step for each file that you would like to include in the dataset
dataset.add_local_files(
    <LOCAL_PATH_TO_THE_FILE>,
    base_path=<PORTION_OF_THE_PATH_THAT_NEEDS_TO_BE_REMOVED>
)
Section 4#
visually inspect your newly created dataset
Section 5#
We are now ready to upload the dataset to SciCat and save the new dataset to variable uploaded_dataset
uploaded_dataset = ...
Section 6#
Extract the SciCat-assigned pid from the new dataset and print it
dataset_pid = ...
Section 7#
Verify the uploaded dataset shows the correct pid with a visual inspection
Section 8#
Reload the newly created dataset from SciCat and validate that matches the information that you specified when you created it.
verification_dataset = client.get_dataset(
    <DATASET_PID_FROM_SECTION_6>
)
Section 9#
Check directly on Scicat how your new dataset looks like in the webUI